
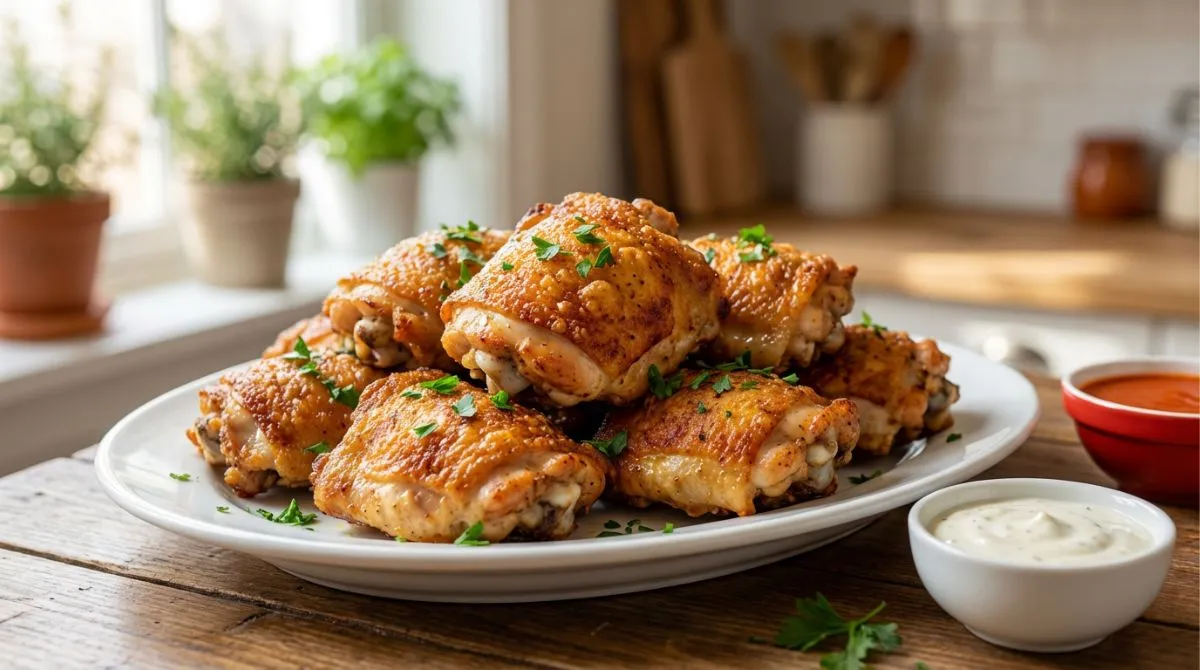
Extra Crispy Oven Fried Chicken Thighs
Table of Contents
Extra Crispy Oven Fried Chicken Thighs (Better Than KFC & No Oil!)
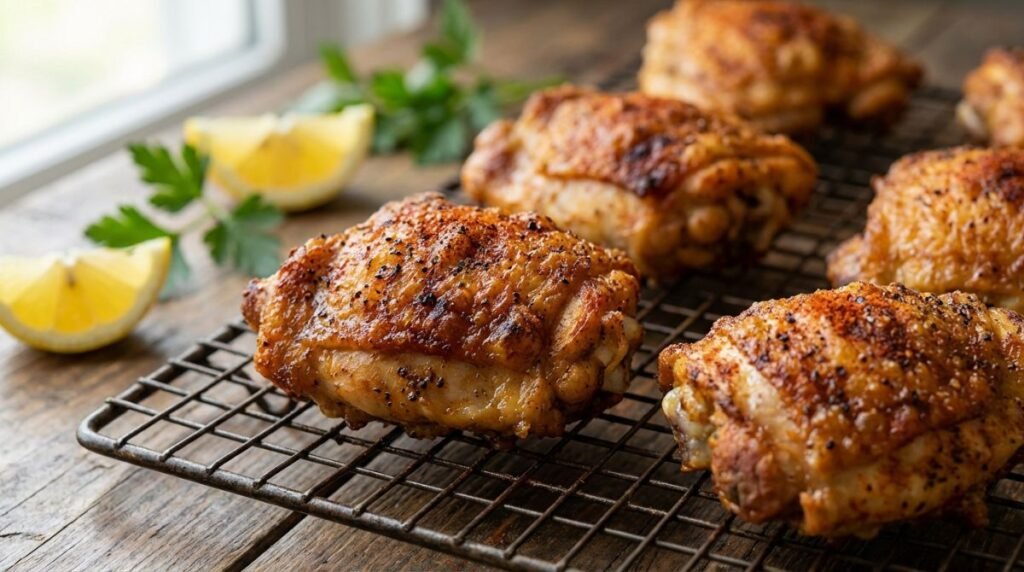
Do you find yourself craving the shatteringly crispy skin of deep-fried chicken but dreading the inevitable aftermath? You know the drill: the greasy mess splattered across your stovetop, the lingering smell of frying oil that clings to your curtains for days, and the heavy, sluggish feeling after consuming a calorie-dense meal. You are not alone. For decades, home cooks have chased the “holy grail” of poultry: oven fried chicken thighs that actually taste fried, not just “baked.”
Most recipes for baked chicken promise crispiness but deliver disappointment. You pull them out of the oven with high hopes, only to find soggy, rubbery skin and dried-out meat. It is frustrating. But this recipe? This recipe is different.
This is not just another baked chicken recipe; it is a culinary technique backed by food science. By using a simple chemical reaction and precise thermal management, we transform humble chicken thighs into a golden, crackling masterpiece that rivals any bucket from KFC or Popeyes. And we do it all without a single drop of deep-frying oil.
Whether you are following a Keto diet, looking for a family-friendly weeknight dinner, or simply want the ultimate healthy fried chicken alternative, this guide is for you. We are going to dive deep into the “how” and “why” of making the perfect oven fried chicken thighs, ensuring that you get that perfect crunch every single time.
Why This Recipe Works (The Science of Crispiness)
To understand how to achieve perfection, we must first understand the science. How can a white powder from your baking pantry turn chicken skin into a crispy delight?
The Secret Ingredient: Baking Powder
The real secret to this recipe isn’t the spices—it is the baking powder. You might be skeptical, but this is a well-documented food science trick.
Chicken skin is made up of proteins and fats. When you coat the skin with baking powder, you are raising its pH level, creating a slightly alkaline environment. This alkalinity does two crucial things:
- Breakdown of Peptide Bonds: It breaks down the peptide bonds in the skin’s proteins. This accelerates the browning process (known as the Maillard reaction) and allows the skin to become thinner and more brittle as it cooks, rather than chewy.
- Micro-Bubbles: As the chicken heats up, the baking powder reacts and creates tiny carbon dioxide bubbles on the surface of the skin. These bubbles increase the surface area, which hardens into a microscopic, craggy texture. This is what gives you that “shatteringly crispy” crunch.
This baking powder trick is magic. It is the exact same technique I use to make my Extra Crispy Baked Chicken Wings shatteringly crunchy without deep frying.
Crucial Warning: You must use baking powder, NOT baking soda. While they look similar, baking soda is much stronger and will leave your chicken tasting metallic and bitter. Always double-check the label.
The Physics of Heat: Convection vs. Regular Ovens
Deep frying works so well because hot oil surrounds the food completely, transferring heat efficiently to every nook and cranny. To mimic this in an oven, we need hot, moving air.
A convection oven (or an air fryer) uses a fan to circulate hot air rapidly around the food. This moving air strips away moisture from the surface of the chicken much faster than stagnant air. It renders the fat quickly, basting the meat from the inside out while crisping the skin.
If you don’t have a convection oven, don’t worry. We have developed a specific method for regular ovens involving higher heat and rack positioning that guarantees the same crispy results for your oven fried chicken thighs.
The Enemy of Crispiness: Moisture
Moisture is the absolute enemy of crispiness. If your chicken is wet when it goes into the oven, the heat energy will be spent evaporating that water (steaming) before it can start browning the skin. That is why drying your chicken thighs thoroughly is the single most critical step in this entire process. We will cover advanced drying techniques in the steps below.
Ingredients You’ll Need (And Why)
You don’t need a long list of fancy ingredients. However, the quality and type of ingredients matter for the final texture.
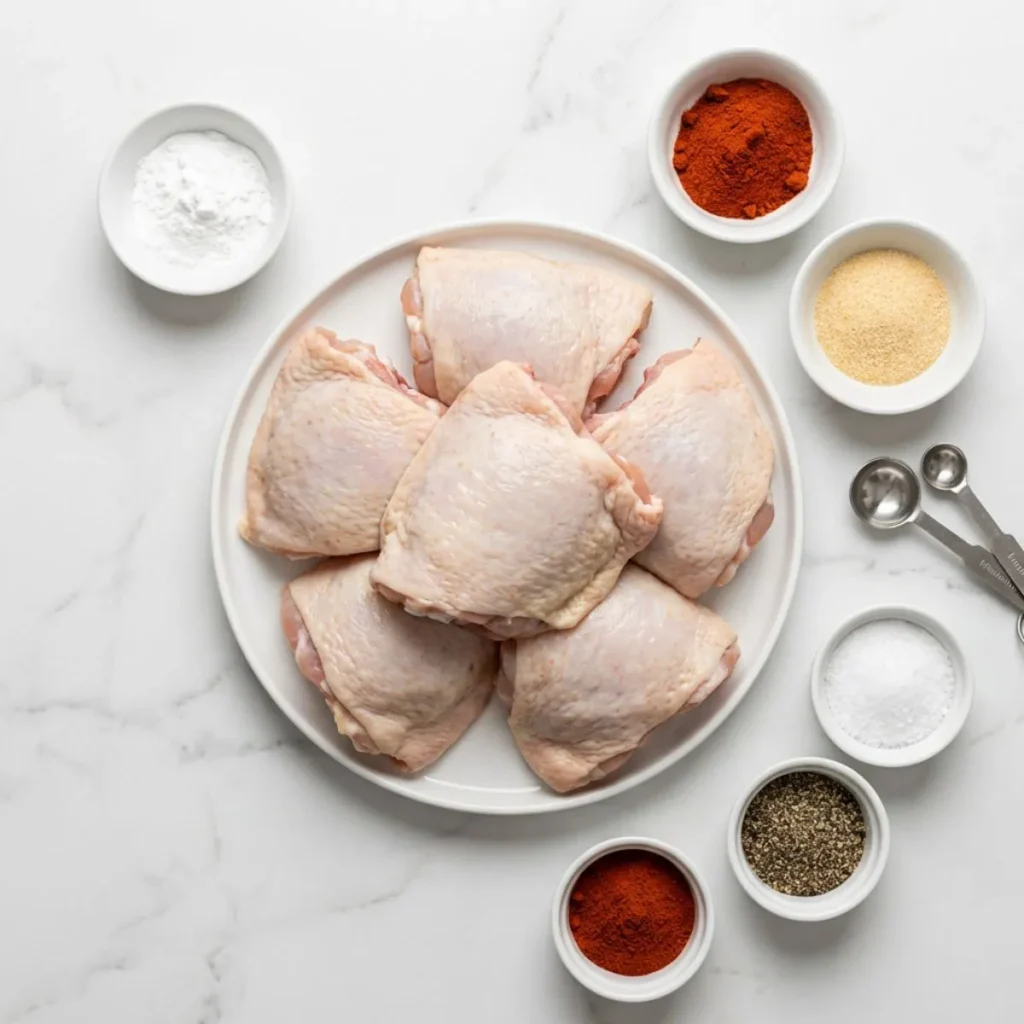
- Chicken Thighs (Bone-in, Skin-on):
- This is non-negotiable. You must use bone-in, skin-on chicken thighs. Why?
- The Skin: You need the skin to hold the baking powder and fat that creates the crust.
- The Bone: Bone-in meat cooks slower, allowing the collagen in the dark meat to break down into gelatin. This keeps the meat incredibly juicy even after 40 minutes at high heat. Boneless thighs would dry out and become tough long before the skin gets crispy.
- Note for Boneless Lovers: If you prefer oven fried boneless chicken thighs, you can still use this recipe! Just reduce the baking time to 20-25 minutes. The skin won’t be there to crisp up, but the coating will still give a nice crunch.
- Baking Powder:
- Look for aluminum-free baking powder. While regular baking powder works, some people are sensitive to the taste of aluminum. Using aluminum-free ensures the flavor is pure chicken and spices.
- Kosher Salt:
- We recommend Diamond Crystal or Morton Kosher salt. The grains are larger and adhere better to the meat. If you only have fine table salt, you must reduce the amount by half, or your oven fried chicken thighs will be inedibly salty.
- The Spice Blend:
- Smoked Paprika: Gives a beautiful deep orange-red color that mimics the look of fried chicken, plus a subtle smokiness.
- Garlic Powder & Onion Powder: These provide the savory “umami” backbone of the flavor profile.
- Black Pepper: Freshly cracked is best for a bit of heat.
- Optional: Cayenne pepper or Chili powder if you like a spicy kick.
How to Make Oven Fried Chicken Thighs (Detailed Step-by-Step)
Follow these steps precisely. We have expanded each step to include professional tips that ensure success.
Step 1: The “Pro” Prep Method (Advanced Drying)
Start by preheating your oven.
- Convection: 425°F (218°C).
- Regular Oven: 450°F (232°C).
The Standard Dry: Take your chicken thighs out of the package and pat them dry with paper towels. Use multiple sheets. Press down firmly on the skin to absorb moisture from the pores. Do not forget the underside.
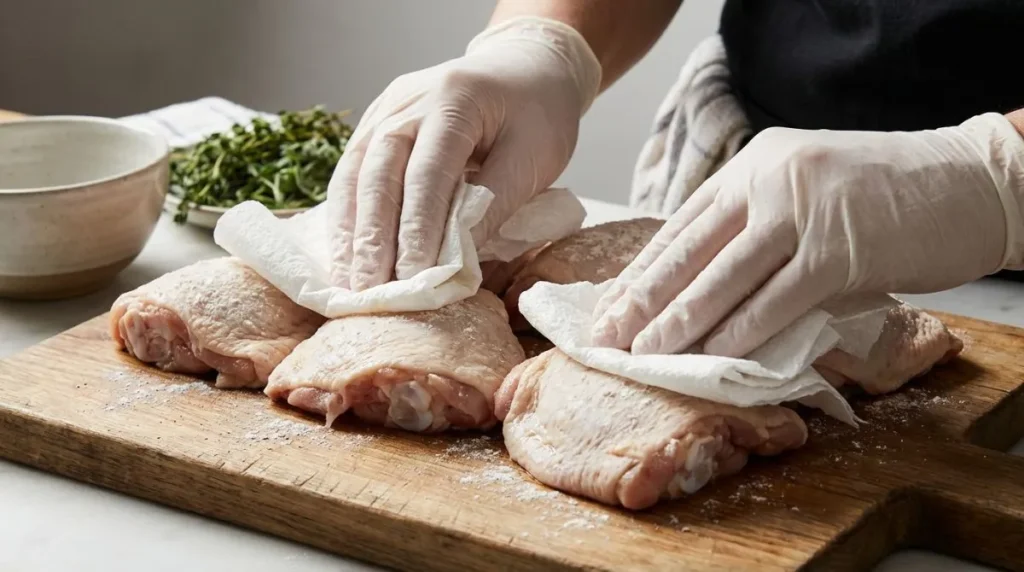
The “Pro” Overnight Dry (Optional but Recommended):
If you have time, salt your chicken thighs the night before and place them on a wire rack in your fridge, uncovered. This is called “dry brining.” The cold air of the fridge circulates around the chicken, drying out the skin completely. This guarantees the crispiest possible result. If you do this, skip the salt in the spice rub later.
Step 2: Creating the Magic Dust
In a small bowl, combine your baking powder, salt (if you didn’t dry brine), smoked paprika, garlic powder, onion powder, and black pepper. Whisk it together well so the baking powder is evenly distributed. You don’t want a clump of pure baking powder on one piece of chicken!
Step 3: The Coating Technique
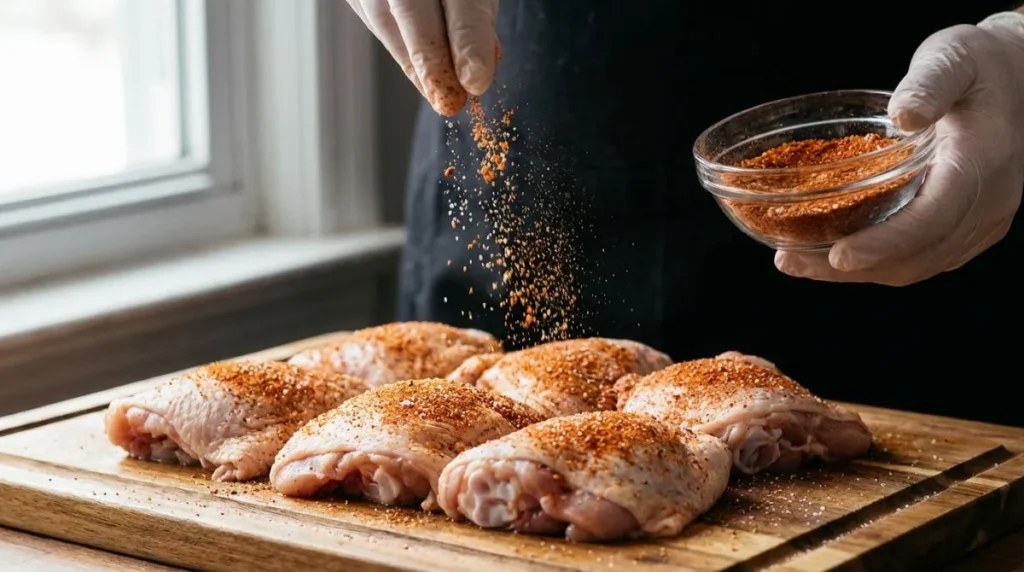
Sprinkle the mixture generously over the chicken thighs.
- Don’t just sprinkle: Use your hands to rub the mixture into the skin.
- Under the skin: Lift the skin flap slightly and rub a little spice on the meat itself for extra flavor, but keep the bulk of the baking powder on the outside skin.
- Even coverage: Ensure the sides and bottom are coated too. The coating interacts with the rendering fat to create a breading-like texture.
Step 4: The Rack Setup (Thermodynamics)
Place a wire rack (cooling rack) inside a large rimmed baking sheet. Line the sheet with foil first for easy cleanup. Spray the rack lightly with oil spray to prevent sticking.
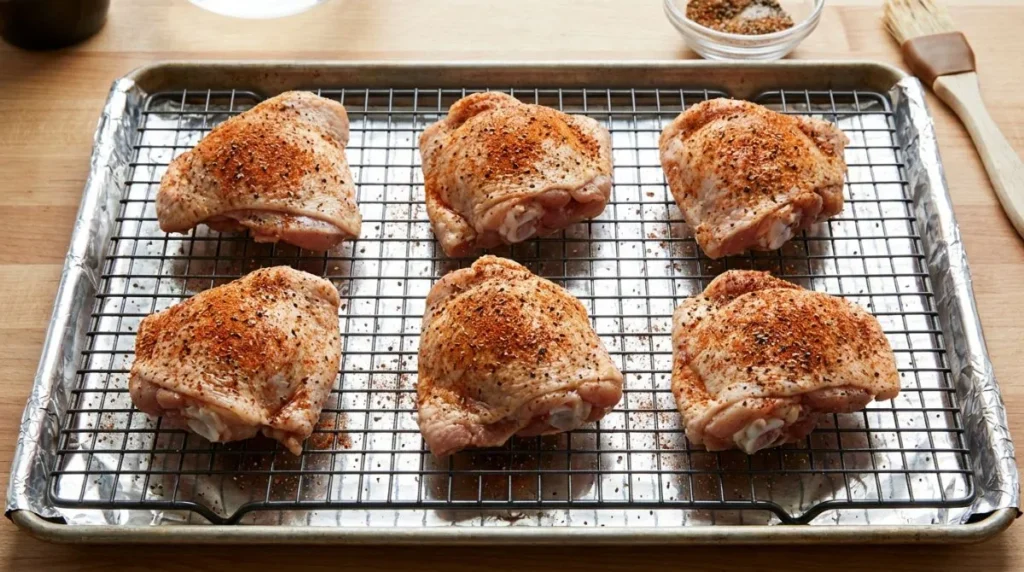
Why the rack?
If you place chicken thighs directly on the metal pan, the bottom will sit in its own juices and boil. It will be soggy. The rack elevates the chicken, allowing the super-heated air to circulate underneath it. This cooks the bottom and sides just as evenly as the top.
Arrange the thighs on the rack with at least 1 inch of space between them. Do not crowd the pan. If they touch, they create a “steam zone” between them, and those spots will never get crispy.
Step 5: The Bake (Timing is Everything)
Place the baking sheet in the center of your oven.
- For Convection Ovens (425°F): Bake for 35-40 minutes. The moving air is efficient, so keep an eye on it after 30 minutes.
- For Regular Ovens (450°F): Bake for 40-50 minutes. Because regular ovens often have hot spots, rotate the pan 180 degrees halfway through the cooking time to ensure even browning.
What happens during the bake?
- Minute 0-10: The surface moisture evaporates.
- Minute 10-20: The fat begins to render (melt) and bubble up through the skin. The baking powder starts reacting.
- Minute 20-30: The skin starts to brown (Maillard reaction) and harden.
- Minute 30-40: The skin becomes crispy and golden. The meat reaches optimal tenderness.
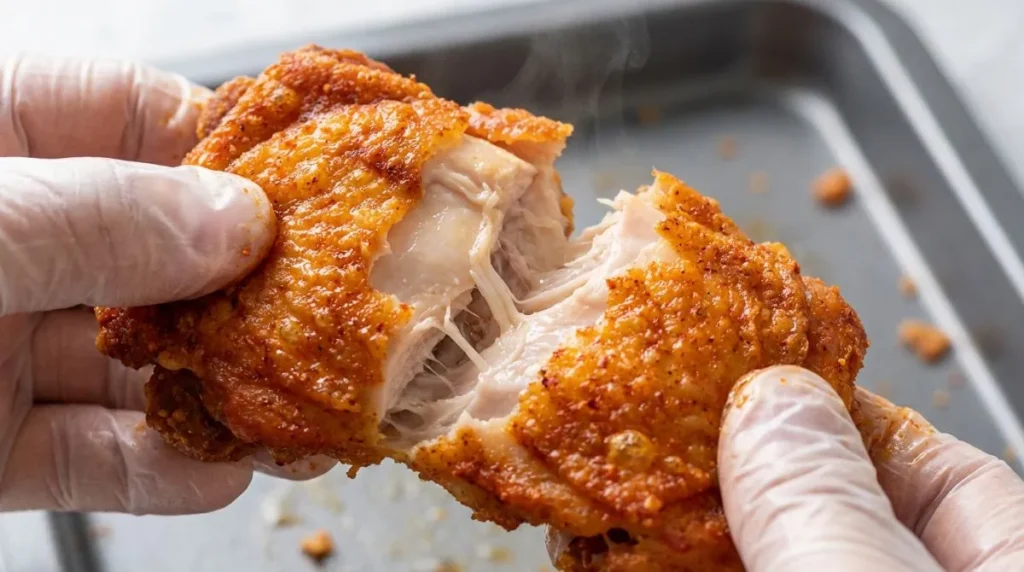
The chicken is done when the skin is deep golden brown, sounds hollow when tapped with a fork, and the internal temperature reaches at least 165°F (74°C).
Expert Tip on Temperature:
While 165°F is safe, we actually recommend cooking chicken thighs to 185°F (85°C). Unlike chicken breasts which dry out, thighs have lots of connective tissue. At 185°F, this tissue breaks down into gelatin, making the meat “fall-off-the-bone” tender and incredibly juicy.
How to Prevent Smoke in Your Oven (The Water Trick)
One common complaint with high-heat roasting (450°F) is the smoke. Chicken fat has a smoke point, and when it drips onto a scorching hot metal pan, it burns. This can fill your kitchen with smoke and set off alarms.
The Solution:
Before putting the chicken in the oven, pour about 1 to 1.5 cups of water into the foil-lined baking sheet (underneath the wire rack).
- How it works: The water stays at 212°F (boiling point). When the hot fat drips off the chicken, it hits the water instead of the hot metal. It cools down instantly and floats. No burning, no smoke.
- Caution: Be careful when removing the pan from the oven, as there will be hot water and grease sloshing in the bottom.
Alternatively, you can spread chopped potatoes or root vegetables in the bottom pan. They will catch the drippings and roast in the chicken fat—giving you a delicious side dish!
No Convection Oven? No Problem!
Many home cooks worry they can’t achieve crispy results without a fancy fan oven. That is false. You just need to compensate for the lack of airflow with higher radiant heat.
- Increase the Heat: Set your oven to 450°F (232°C). You need this intense heat to shock the skin into crisping.
- Rack Position: Place your oven rack in the upper-middle position. This puts the chicken closer to the top heating element and the rising heat.
- The Rotation: As mentioned, rotate the pan halfway.
- The Broil Finish: If the chicken is cooked but the skin isn’t quite crispy enough for your liking, turn on the broiler for 1-2 minutes at the very end. Watch it closely! The sugar in the paprika can burn in seconds.
Can I Make This in an Air Fryer?
Absolutely! An air fryer is essentially a powerful, compact convection oven. It is perfect for making oven fried chicken thighs in smaller batches.
- Preheat: Set your air fryer to 400°F (200°C).
- Arrange: Place the seasoned thighs in the basket, skin-side up. Do not stack them. You may need to cook in multiple batches, depending on the size of your fryer.
- Cook: Air fry for 22-28 minutes.
- Check: Open the basket halfway through. You usually don’t need to flip them if you want the skin to stay pristine, but check for hot spots.
Air Fryer Note: Because the heating element is so close to the food, the skin gets crispy very fast. If it’s browning too quickly before the meat is done, lower the temp to 375°F for the last few minutes.
Have an oven with an ‘Air Fry’ setting?
Treat it exactly like the Convection method: 425°F for 35-40 minutes using a wire rack. This setting simply runs the convection fan at a higher speed, perfect for oven fried chicken thighs.
3 Flavor Variations (Beyond Buffalo)
While Buffalo sauce is classic, these oven fried chicken thighs are a blank canvas. Here are three gourmet variations to try:
1. Sticky Honey Garlic
- The Rub: Use the standard rub but add a pinch of ginger powder.
- The Glaze: While the chicken bakes, simmer 1/3 cup honey, 1 tbsp soy sauce, 3 cloves minced garlic, and a splash of apple cider vinegar until thickened.
- Finish: Brush the glaze onto the crispy chicken in the last 2 minutes of baking. It will get sticky and caramelized.
If you love these Asian-inspired flavors, you must try my Easy Beef and Broccoli for another quick weeknight win.
2. Lemon Pepper Zest
- The Rub: Add 1 tablespoon of fresh lemon zest and increase the black pepper to 1 tablespoon in the baking powder mixture.
- Finish: Squeeze fresh lemon juice over the hot chicken right before serving. The acid cuts through the richness of the crispy skin perfectly.
3. Smoky BBQ
- The Rub: Add 1 tsp of brown sugar and 1 tsp of chili powder to the mix.
- Finish: Do not sauce the chicken before cooking! Wait until it is fully crispy. Then, brush your favorite BBQ sauce on top and broil for 2 minutes. This prevents the sugar in the sauce from burning during the long bake.
Comparison: Oven Fried vs. Deep Fried vs. Air Fried
Still not convinced? Here is how this method stacks up against the alternatives.
| Feature | Deep Fried | Oven Fried (This Recipe) | Air Fried |
| Crispiness | 10/10 (The Gold Standard) | 9/10 (Shatteringly Crispy) | 9.5/10 (Very Crispy) |
| Juiciness | High | High (Rendered fat bastes meat) | Medium (Can dry out) |
| Oil Used | Cups (Submerged) | None (Natural fat only) | None / Spray |
| Calories | Very High | Moderate | Moderate |
| Cleanup | Nightmare (Oil disposal) | Easy (Foil & Rack) | Easy (Basket) |
| Batch Size | Small (3-4 pieces) | Large (10-12 pieces) | Small (2-4 pieces) |
As you can see, oven fried chicken thighs offer the best balance of quality, health, and convenience, especially for feeding a family.
Common Mistakes to Avoid (Troubleshooting)
Even with a perfect recipe, things can go wrong. Here is how to troubleshoot.
- “My chicken tastes metallic or bitter.”
- Cause: You used baking soda instead of baking powder, or you used too much.
- Fix: Ensure you have aluminum-free baking powder. Measure carefully—1 tablespoon is enough for 8 thighs.
- “The skin isn’t crispy, it’s soggy.”
- Cause: Moisture. You didn’t dry the chicken enough, or you crowded the pan.
- Fix: Next time, try the overnight fridge drying method. And always leave space between the thighs for airflow.
- “The oven is smoking like crazy!”
- Cause: Fat burning on the hot pan.
- Fix: Use the water trick! Add water to the bottom pan to catch the grease.
- “It’s too salty.”
- Cause: You used fine table salt but followed the measurements for Kosher salt.
- Fix: Table salt is twice as salty by volume. Always use half the amount if using table salt.
- “Can I bake these at 375°F?”
- Answer: Yes. If you prefer a lower temperature or have other dishes in the oven, you can bake at 375°F for 50-60 minutes. The skin might be slightly less shatteringly crispy than the high-heat method, but the meat will be very tender. This is a great option for 375 chicken thighs oven fried if you want a slower roast.
Storage and Reheating (Keep it Crispy!)
Leftovers are rare, but if you have them, don’t ruin them in the microwave!
- Storage: For storage, place in an airtight container and refrigerate for up to three days. The skin will lose its crispiness in the fridge—this is normal.
- Reheating: NEVER use the microwave. It will turn the skin into a soggy mess.
- Oven/Air Fryer: Place the cold chicken back in a 400°F oven or air fryer for 5-8 minutes. The heat will re-activate the fat in the skin and bring back the crispy texture almost as good as new.
Serving Suggestions
These crispy baked chicken thighs are versatile. Make it a meal with:
- Classic Comfort: Creamy mashed potatoes and gravy.
- Low Carb/Keto: Roasted broccoli with parmesan or a fresh Caesar salad.
- Picnic Style: Coleslaw and corn on the cob.
- Dipping Sauces: Ranch, Blue Cheese, Honey Mustard, or Hot Honey.
Recipe Card: Extra Crispy Oven Fried Chicken Thighs
Prep Time: 15 mins | Cook Time: 45 mins | Total Time: 1 hour | Servings: 4-6
Ingredients
- 8 Bone-in, skin-on chicken thighs (approx. 3-4 lbs)
- 1 tbsp Baking powder (Aluminum-free is best)
- 1 tsp Kosher salt (use 1/2 tsp if using table salt)
- 1 tsp Smoked paprika
- 1 tsp Garlic powder
- 1 tsp Onion powder
- 1/2 tsp Black pepper
- 1/4 tsp Cayenne pepper (optional for heat)
- Oil spray (for the rack only)
Instructions
- Preheat: Preheat oven to 425°F (Convection) or 450°F (Regular).
- Prepare Pan: Line a large rimmed baking sheet with aluminum foil. Place a wire rack on top and spray lightly with oil. Pro Tip: Pour 1 cup of water into the bottom of the pan (under the rack) to prevent smoking.
- Dry Chicken: Pat chicken thighs completely dry with paper towels. Press firmly to remove surface moisture.
- Mix Rub: In a small bowl, whisk together the baking powder, salt, paprika, garlic powder, onion powder, and pepper.
- Coat: Sprinkle the mixture evenly over the chicken thighs. Rub it thoroughly into the skin and underside.
- Bake: Arrange chicken on the wire rack, skin-side up, ensuring they do not touch. Bake for 35-45 minutes.
- Check: The chicken is done when the skin is deep golden brown and crispy, and the internal temp reaches 185°F.
- Rest: Let the chicken rest on the rack for 5 minutes before serving. This allows the juices to redistribute.
Nutrition (per serving):
Calories: 290 | Protein: 24g | Fat: 19g | Carbs: 1g | Net Carbs: 1g
Now you know the secret. Say goodbye to greasy deep-frying and hello to the best oven fried chicken thighs you will ever taste!